

(under construction)
| Taking pictures | Minivaning | Push Tubes | Removing Push Tubes |
| Taking Pictures |
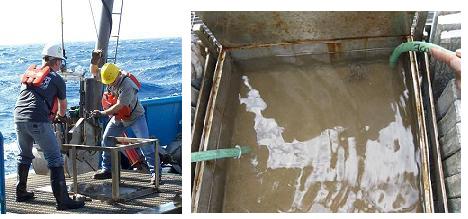 The deck crew will land the box core and siphon the water for the lab. However, you need to get your boxcoring supplies ready so you can work as soon as they are done. Before the box core is landed, you need to collect the following items: a long outdoor power cord that you can run all the way to the box core for the minivane, power drill and attachment to extend the minivane, box core basket with extension and spring sets, photo ID sheet with name of site, job number and date, minivane data sheet, camera, push tubes and pre-labeled caps, rags for drying the push tubes and two rolls of black electrical tape - already rat-tailed. 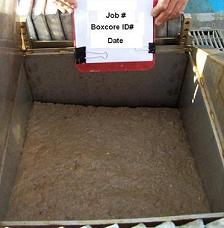 After the water is siphoned, take a picture of the sediment surface with the boxcore ID photo. Try to include all four corners of the sediment. You may have to shade the boxcore and sheet in order to prevent glare. Review the photo to make sure it is clear before moving to the next step. |
| Minivaning |
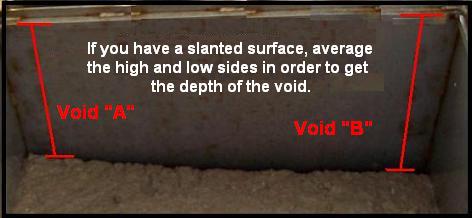 Measure the void from the surface of the sediment to the top of the sampling part of the box core and write it in the datasheet under "Description". If you have a slanted surface, write the depths of the high and low sides, then average the depth of void. 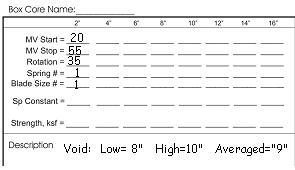 Sample Datasheet with spring, blade numbers, void, start and stop readings. Next, place the minivane frame across the top of the box core and use C clamps to secure it in place. Set the minivane in the frame and clamp it to the minivane frame. Attach the power drill to the minivane and insert your spring and blade with as many extensions as needed to reach the top of the sediment. 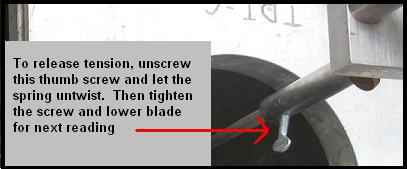
Record the spring and vane numbers. Insert the vane 2 inches into the sediment (4 inches for meter boxcore) and start the reading. Record the start and stop numbers for the reading. RELEASE THE TENSION ON THE BLADE. Insert another two inches (4 inches for meter boxcore) and take the next reading. When you have completed the readings, release the spring and the blade. Remove the Minivane, clamps and frame, leaving the blade, with the extensions, in the sediment. You are now ready to do the push tubes. |
| Push Tubes |
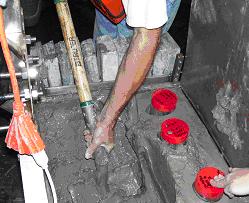
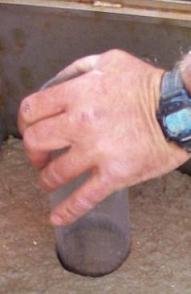 Insert the push tubes into the least disturbed parts of the sediment. Be sure to leave room for air to escape from the tube as you are pushing it in. We don't want to compress the sediment.  Place the pre-labeled caps on the tubes so they can be read from the camera. Take a picture of the push tubes in the sediment with the box core ID page. Review the photo to make sure it is clear. Place the pre-labeled caps on the tubes so they can be read from the camera. Take a picture of the push tubes in the sediment with the box core ID page. Review the photo to make sure it is clear.

Top caps are labeled with Job #, Box core ID, sub-sample number (ex. 1 of 3, 2 of 3 or 3 of 3) and date. |
| Removing Push Cores |
 If requested by client: a bulk sample is removed with a shovel. The top layer of soil is placed in a labeled 5-gallon bucket and the second layer is placed in another labeled 5-gallon bucket. Each bucket is labeled with Job #, Box core ID, layer number and date.  Excavate the push cores from the box and cap the bottom.  Clean the push cores using a water hose and sponge. Dry them as much as you can, then securely tape the top caps with WHITE tape and the bottom caps with BLACK tape. Take them back to the lab and secure them in an upright position. |